Limewash In The Master Bedroom
Have you ever heard of lime wash? Before I came across Portola Paints, I had never either! Turns out lime washing is a thin lime-based "paint". The lime wash goes onto your walls with a natural wider brush and dries in a beautiful patina-like texture. The result of the high PH formula results in a chalky, stroke-like finish.
I decided to use lime wash on our master bedroom walls for a different look than paint. After getting the paint swatches from Portola Paints, I chose the color "Eastwood"- a warm creamy tone for our walls. I liked that the lime wash felt aged and cottage-like for our bedroom.
 |
|


The first step in lime washing your walls is to get a nice layer of primer on the walls. Taping off your trim, ceilings and floors is pretty necessary as it makes it easier to paint with your brush when it comes time. The difference between painting on the lime wash vs. regular paint is you physically brush stroke the lime wash on (instead of using a roller with paint) with a 5-7" natural brush. I found Portola Paints YouTube tutorial to be extremely helpful in learning how to brush the lime wash on the walls.
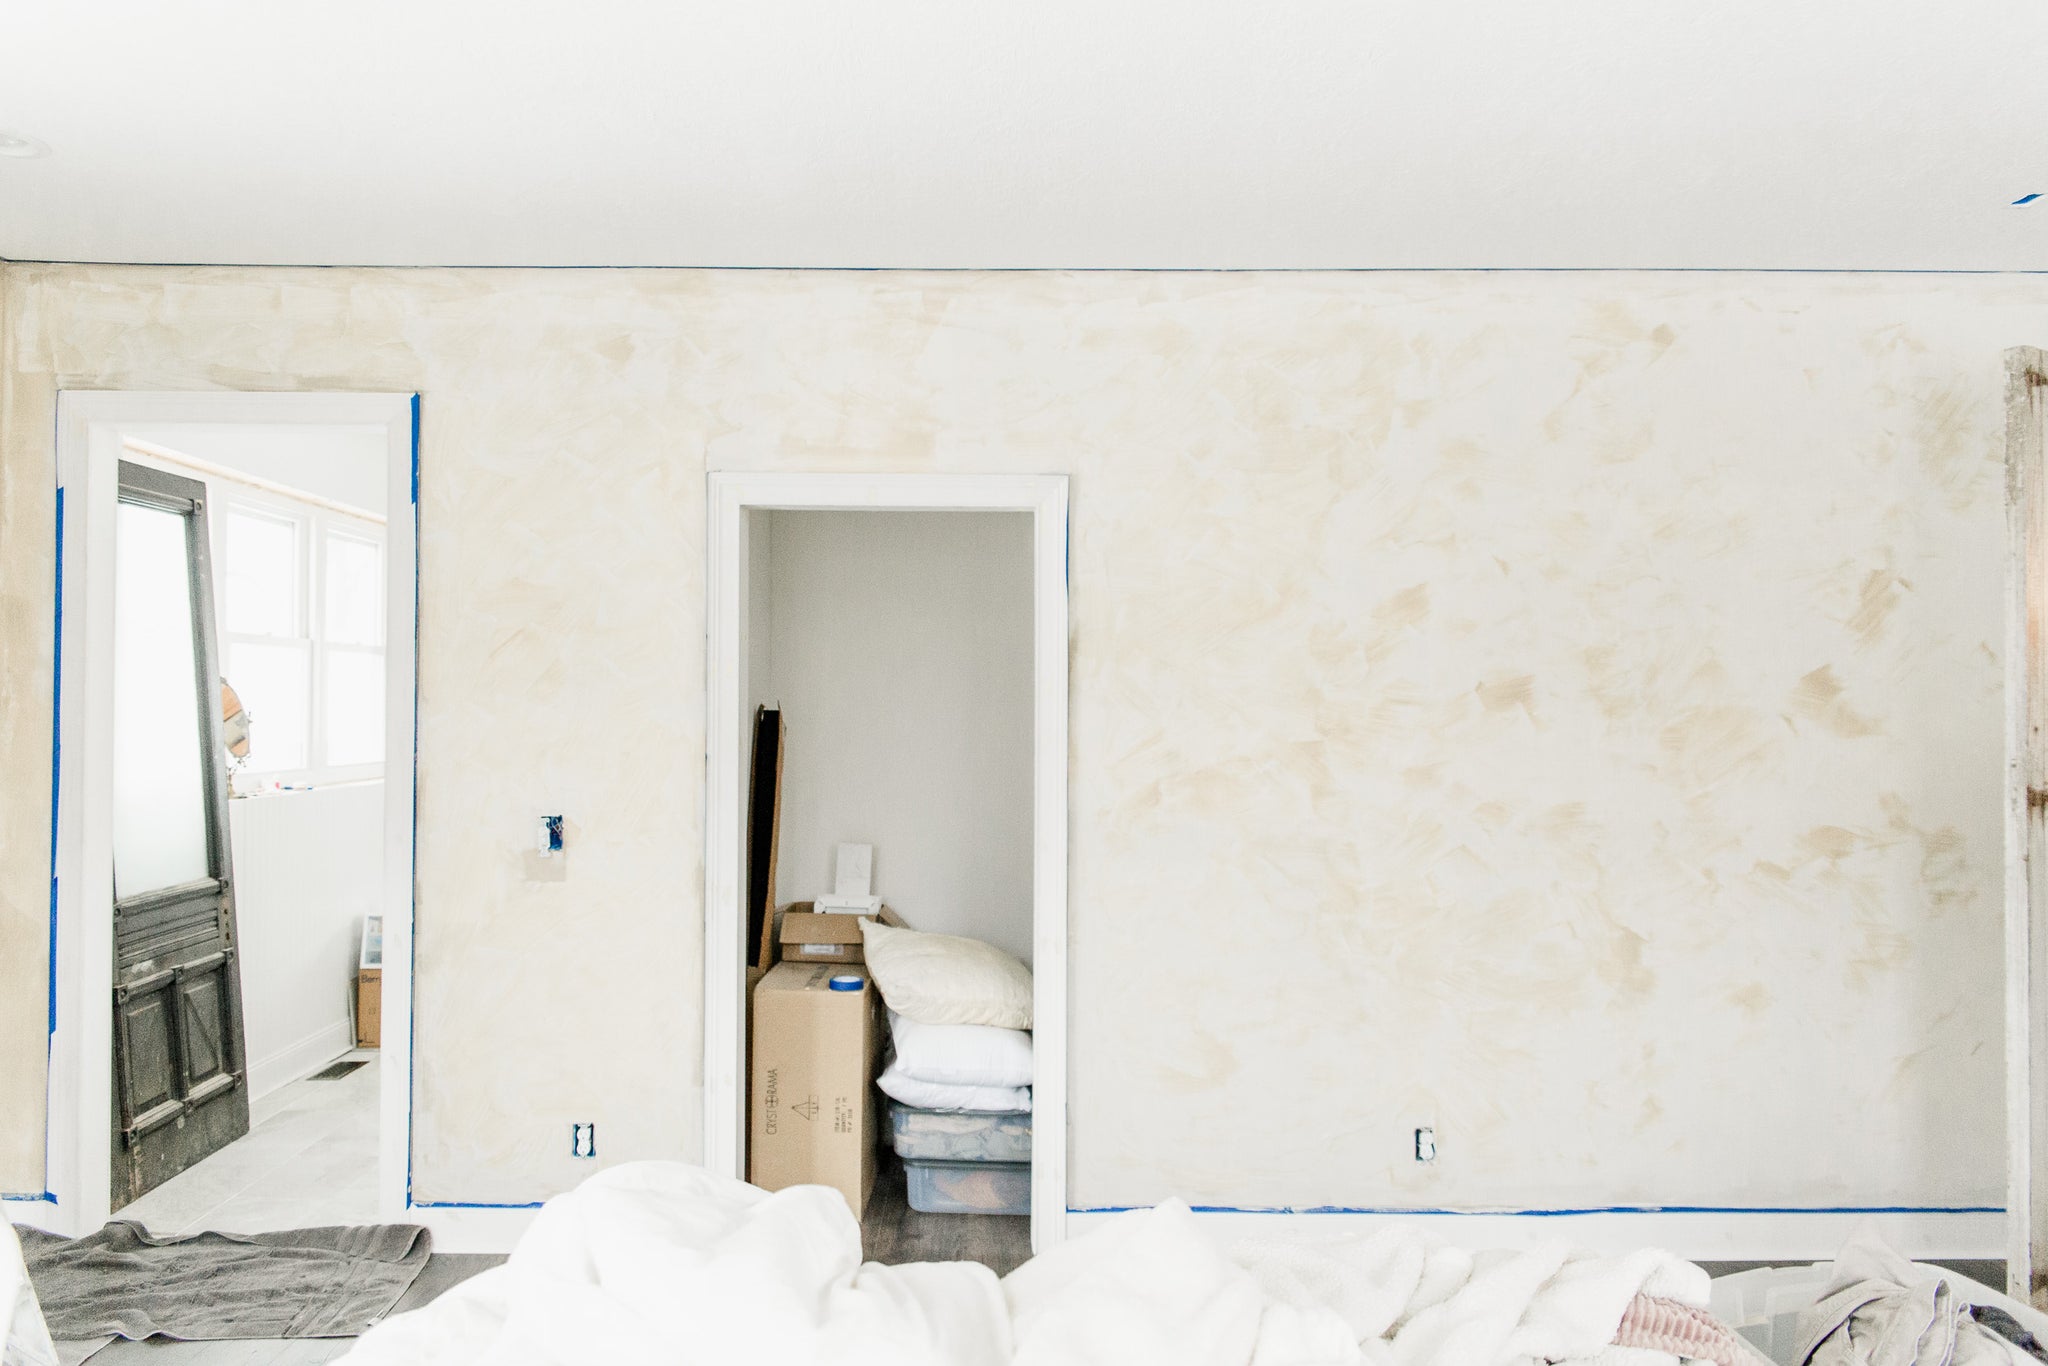

Don't be alarmed when your lime wash goes on a different shade than you were anticipating. As the lime wash slowly dries, it lightens up to the color- leaving you with a beautiful shade/texture. One thing I did learn through my process, was that it's very necessary to have a good covered primer on the wall prior to starting. I was a bit sloppy and didn't have all my edges completely painted with the primer resulting in spots around my trim that I needed to touch up with more lime wash.

I was able to cover all three of my walls (9' high) with one coat of paint and the last wall I was able to get two coats on. I was happy to have run out because that allowed me time to look at the walls with one and two coats in comparison. After painting my last wall with a second coat (photo below)- I found that I really loved the walls with one coat (with my lighter shade). The one coat of lime wash showed just a little bit more of the white primer underneath resulting in more movement in the lime wash. I decided to leave the walls with one coat and ordered another quart of lime wash to touch up some spots.
After the quart came in, I was able to go through and touch up any spots that I thought the primer was coming through too much. I was also able to touch up my edges where you could still see the drywall (hence why you want primer to be covered completely- don't get sloppy like me, haha).

I was able to finish out my walls in the lime wash and I love the effect! It's different and unique rather than just paint on the walls. I finally decided on a trim color, too. I contemplated trim colors for weeks- trying to decide between a darker taupe/gray, a creamy brown or a lighter greige (white felt too expected). Wait until you see the final outcome- I think you'll be surprised. I'll report back once the room is all complete!


 |
 |
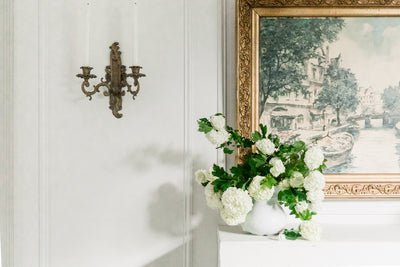
For the time being, I HAD to see what our European linen bedspread in white would look like over our bed. DREAMY! I can't wait to see what this room transforms into!
Hugs, Alyssa


This is already so beautiful! Thank you so much for the detailed tutorial and look forward to grand finale!
Leave a comment